LNMP实战之部署个人网盘Nextcloud 2241次阅读 Centos 2022-10-10 注:本文在原创文章 [Centos7下LNMP基础环境搭建](https://blog.gdsdxy.fun/index.php/archives/91.html) [LNMP进阶之vhosts](https://blog.gdsdxy.fun/index.php/archives/93.html) [LNMP进阶之SSL安全证书部署](https://blog.gdsdxy.fun/index.php/archives/96.html) 基础之上进行讲解,在开始操作前,请先学习以上文章操作。 在前面的操作中,我们学会了如何安装LNMP环境,如何配置Vhosts,部署SSL安全证书。综合前面的知识,今天我们来学习部署个人网盘。 # 部署个人网盘Nextcloud ## 前期准备 LNMP基础架构、vhosts配置、SSL证书部署在此不再赘述。 由于国内特殊网络环境,前往nextcloud官网(https://nextcloud.com/changelog/#latest24)下载离线部署压缩包(可能需要自备梯子)  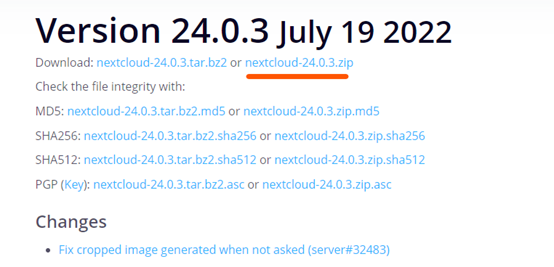 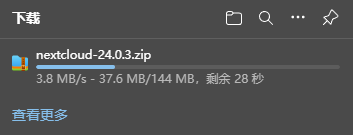  得到这么一个压缩包 ## 开始安装Nextcloud  进入网站根目录,为nextcloud网站创建存放目录  将下载好的压缩包上传至服务器  使用该命令解压压缩包   进入该目录  将该目录下的所有文件移动到我们创建的网站目录下/usr/share/nginx/html/nextcloud下  直接使用SSL证书部署文章中使用的web1网页服务器的配置文件,省略配置证书和vhosts的步骤。 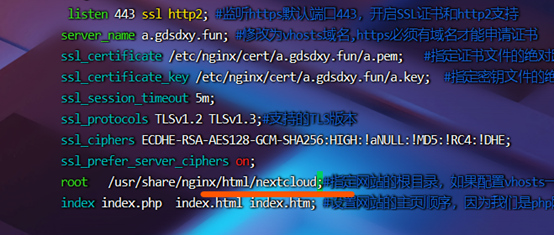 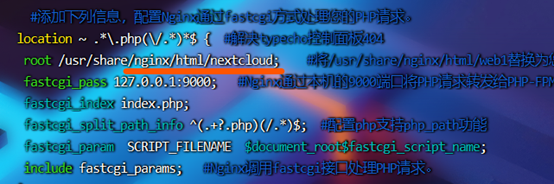 修改这两处的网站根目录,指向nextcloud目录。保存并退出  重启nginx服务 ## 配置nextcloud个人网盘服务 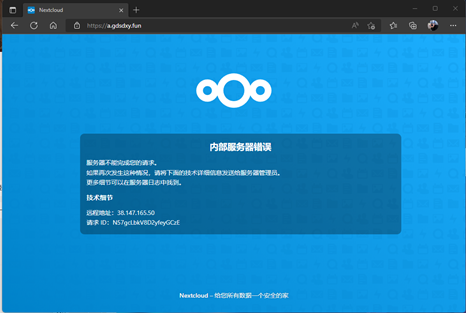 直接在网页上输入我们的域名a.gdsdxy.fun,回车后提示内部服务器错误,这是因为网站文件的权限没有设置好。  直接给予nextcloud目录及其子目录777权限(尽量慎用) 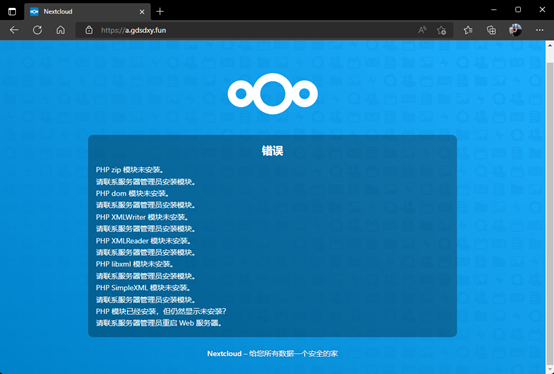 重新打开网页,发现提示已经变了,告诉我们缺失以上php组件 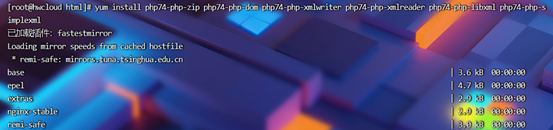 [root@hwcloud html]# yum install php74-php-zip php74-php-dom php74-php-xmlwriter php74-php-xmlreader php74-php-libxml php74-php-simplexml 它提示缺啥,我们就装啥!  装好后一定要重启服务器  重启后再次刷新网页,进入到第一次配置界面  登入我们的mysql  为nextcloud创建数据库 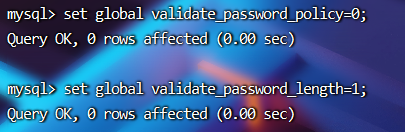 修改密码验证策略  创建一个nextcloud用户,密码123456  授予nextcloud用户权限  刷新权限 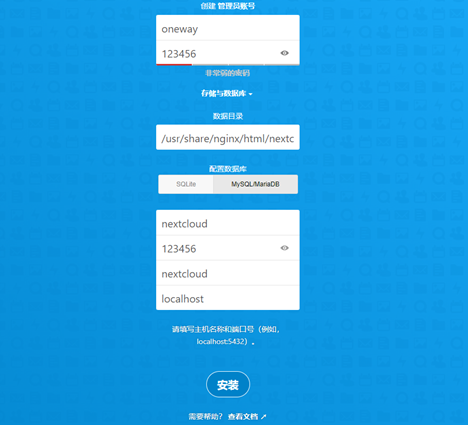 根据实际情况填写,点击安装,稍等几分钟 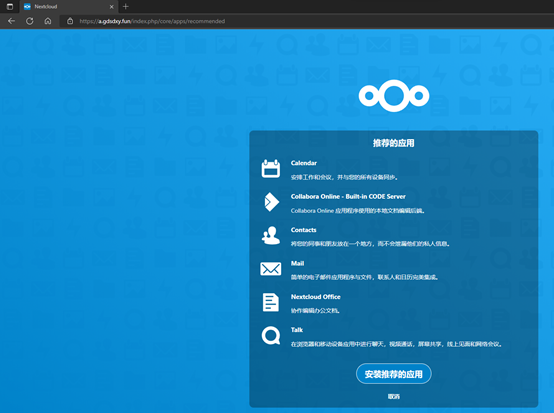 跳转到这里即为安装完成,点击取消即可进入首页 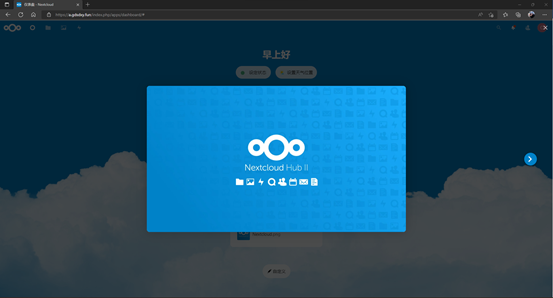 仪表盘 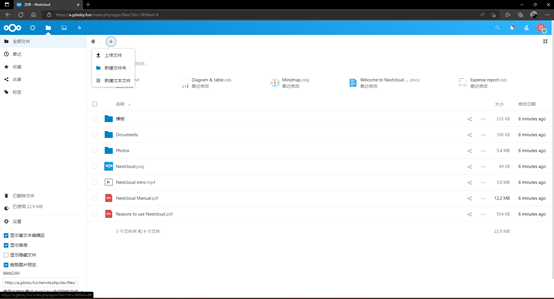 文件管理界面  下载速度取决于云服务器实际带宽 至此,个人网盘部署完毕! 最后一次更新于2022-10-10 None


0 条评论